Build a reusable before/after image slider with Stimulus
Before and after (image) sliders are great for product showcases, before/after transformations, renovation projects or photo editing results. They’re engaging, interactive, and honestly just fun to use.
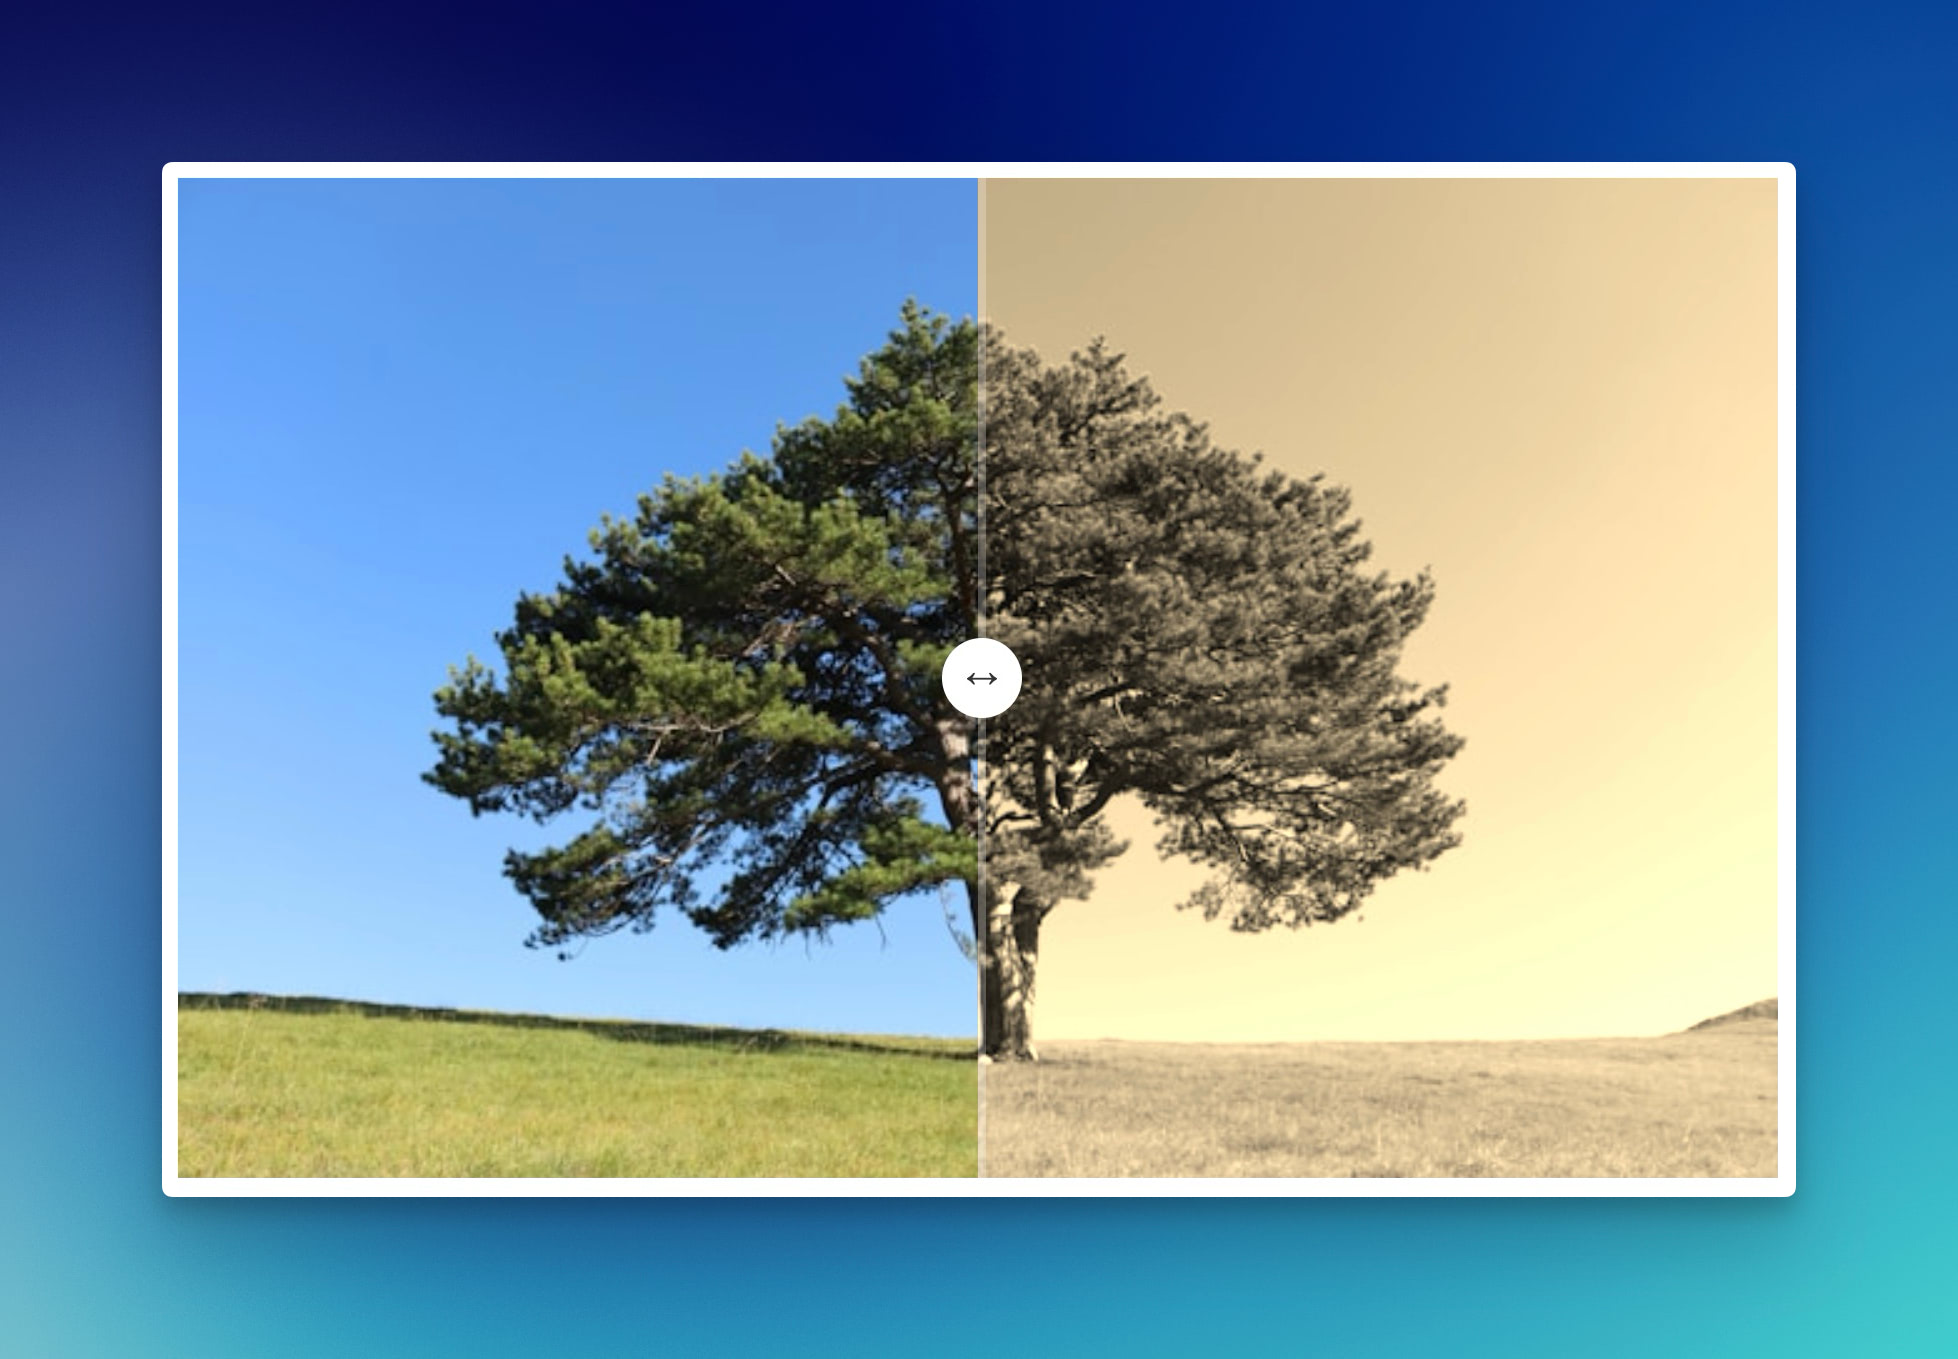
Ever thought of building one from scratch? Not complicated at all! In this article, I want to show how to build a simple, reusable Stimulus controller that does just all that. This is how the end result will look like:
As always, the code can be found on GitHub.
It is simple, really
The beauty of this controller is its simplicity. You need three things:
- a wrapper element;
- two images (before and after), and;
- a slider.
That’s it. Here’s it in HTML:
<div data-controller="compare">
  <img data-compare-target="before" src="before.jpg">
  <img data-compare-target="after" src="after.jpg">

  <div data-compare-target="slider"></div>
</div>
The two images are positioned absolutely and the slider sits on top as a draggable handle. The “after” image gets clipped dynamically as you drag.
Here’s that interesting part. It uses clip-path to reveal or hide the after image:
set #position(value) {
  this.positionValue = value
  this.sliderTarget.style.left = `${value * 100}%`
  this.afterTarget.style.clipPath = `inset(0 0 0 ${value * 100}%)`
}
When you drag the slider, it calculates the position relative to the container’s width, then updates both the slider’s left position and the clip-path of the after image. Most of that is done with:
#pointerDown = (event) => {
  if (event.target !== this.sliderTarget) return

  event.preventDefault()

  document.addEventListener("pointermove", this.#pointerMove)
  document.addEventListener("pointerup", this.#pointerUp)
}
Stimulus controllers are meant to be reusable
This controller is a wrapper element plus two images. That’s it. Use cases then are limitless (they generally work great on marketing blogs as well!):
- product photography; show different angles or colors of the same product
- photo editing results; before/after with filters, adjustments, or retouching
- UI redesigns; old interface vs. new interface
You could (should) extend this in several directions. Add keyboard support for accessibility. Include labels (“Before” / “After”) that move with the slider. Add touch support with haptic feedback on mobile.
It is the kind of controller you copy and paste into your projects. Just as it should be.
Want to read me more?
-
Preview an Image Before Upload with Hotwire/Stimulus
Learn about JavaScript's FileReader interface to preview user images before they are upload with Hotwire/Stimulus. -
Reusable drag-and-drop image preview in Rails
Build a copy-paste custom element for image uploads that works anywhere in your Rails app. Drag-and-drop, previews and form integration without any framework overhead. -
Use native dialog with Turbo (and no extra JavaScript)
Build interactive modals and sliders in your Rails app without writing any JavaScript. Learn how to use the native dialog element with Turbo Frames and Attractive.js.
Over to you…
What did you like about this article? Learned something knew? Found something is missing or even broken? 🫣 Let me (and others) know!
Comments are powered by Chirp Form
{{comment}}