Build custom emojis with Stimulus
Recently I had to build something using the canvas element. Today I’ll show you how to build an interactive emoji composer using HTML Canvas and Stimulus. Click emojis to add them to a canvas, drag them around and export your creation as an image. It is quite fun (coming from an emoji connoisseur)! 😎👍
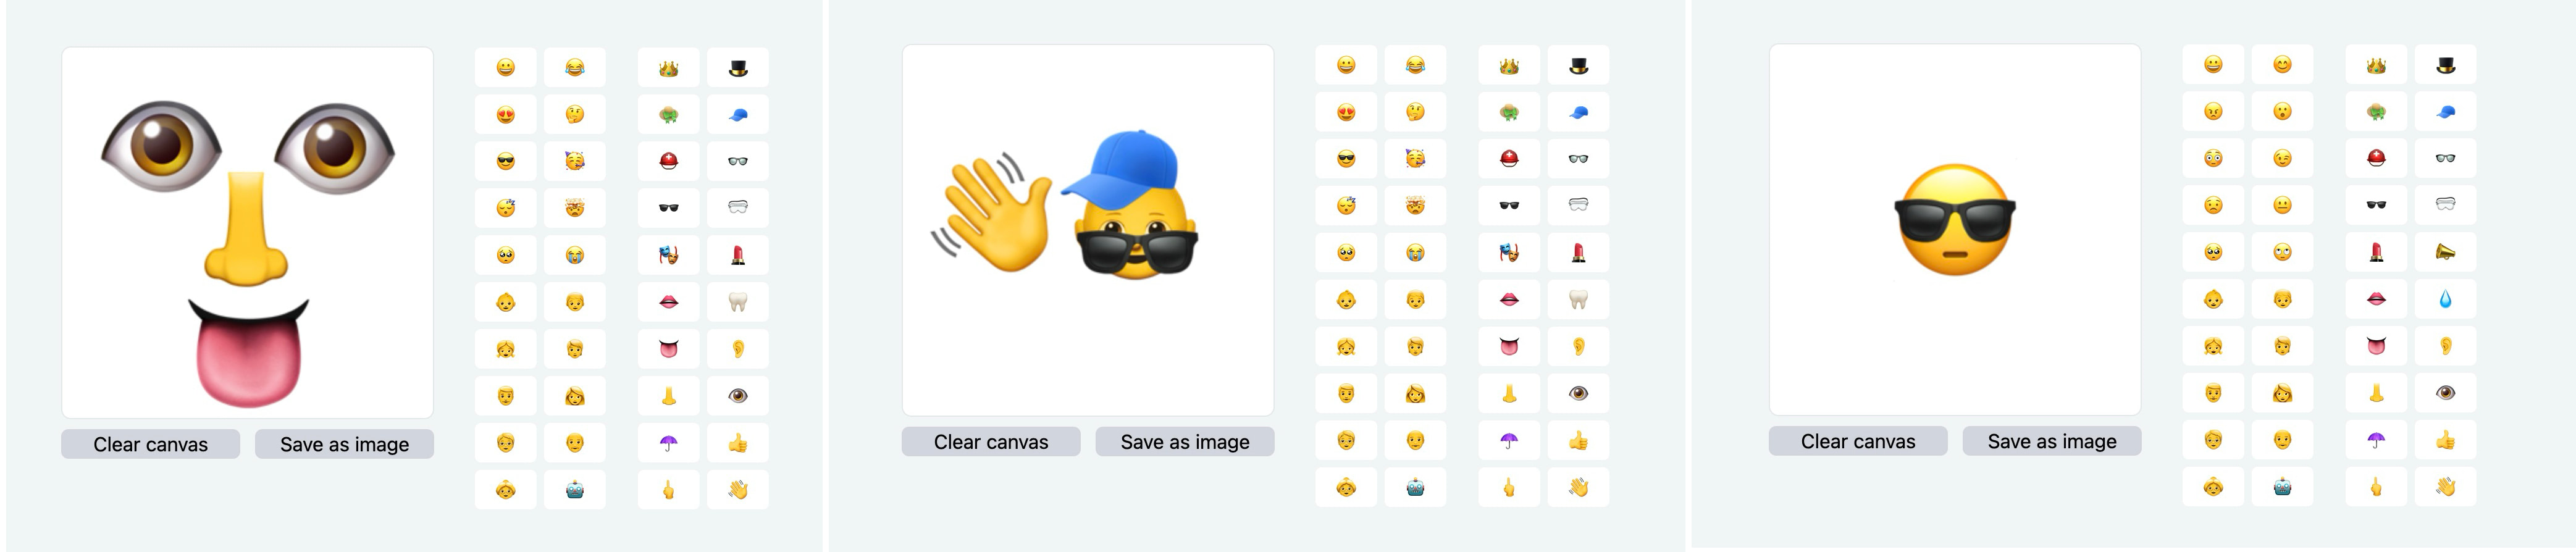
Click a face emoji, add some accessories, position everything just right and download your custom creation. All running in the browser with no external dependencies.
The HTML
Start with a simple layout that divides the screen into a canvas area and emoji picker:
<div data-controller="canvas-composer image-exporter">
  <div class="grid grid-cols-[1fr_clamp(240px,12%,480px)] gap-8">
    <div>
      <canvas
        data-canvas-composer-target="canvas"
        width="300"
        height="300"
        data-action="mousedown->canvas-composer#selectEmoji mousemove->canvas-composer#moveSelectedEmoji mouseup->canvas-composer#deselectEmoji">
      </canvas>

      <div class="grid grid-cols-2 mt-2 gap-x-3">
        <button data-action="click->canvas-composer#clearAll">
          Clear canvas
        </button>

        <button data-action="click->image-exporter#download">
          Save as image
        </button>
      </div>
    </div>

    <div class="grid grid-cols-2 gap-6">
      <ul class="grid grid-cols-2 gap-1">
        <%= render partial: "button", collection: %w[😀 😊 😠 😮 😳 😉 😟 😐 🥺 🙄 👶 👦 👧 🧑 👨 👩 🧓 👴 👵 🤖], as: :emoji %>
      </ul>

      <ul class="grid grid-cols-2 gap-1">
        <%= render partial: "button", collection: %w[👑 🎩 👒 🧢 ⛑️ 👓 🕶️ 🥽 💄 📣 👄 💧 👅 👂 👃 👁️ ☂️ 👍 🖕 👋], as: :emoji %>
      </ul>
    </div>
  </div>
</div>
The canvas handles mouse events for selecting and dragging emojis. On the right I added the emoji picker with faces, accessories and body parts. Each emoji button gets rendered through a simple partial:
<%# locals: (emoji:) %>
<li>
  <button data-emoji="<%= emoji %>" data-action="canvas-composer#addEmoji">
    <%= emoji %>
  </button>
</li>
HTML Canvas?
Before diving into the Stimulus controller, let’s talk about the <canvas> element. Canvas provides a drawing surface where you can render graphics, text and images using JavaScript. Like a piece of paper that your code can draw on.
Canvas uses a coordinate system starting from the top-left corner (0,0). The x-axis runs left to right, y-axis runs top to bottom. No surprise here! To draw on canvas, you get its 2D rendering context and use methods like fillText(), drawImage() and clearRect().
What makes canvas perfect for this emoji composer? You can draw text (emojis) at specific positions, clear and redraw the entire canvas efficiently and export the final result as an image. Canvas also handles layering naturally. Elements drawn later appear on top.
The key canvas methods you’ll see:
-
getContext("2d")- gets the drawing context -
clearRect()- clears a rectangular area -
fillText()- draws text at specified coordinates
The Stimulus controller
The main controller manages the emoji canvas and drag-and-drop functionality:
import { Controller } from "@hotwired/stimulus"

export default class extends Controller {
  static targets = ["canvas"]
  static values = { emojiSize: { type: Number, default: 100 } }

  #emojisOnCanvas = []
  #selectedEmoji = null
  #isDragging = false
  #dragOffset = { x: 0, y: 0 }

  connect() {
    this.#redrawCanvas()
  }
}
The controller tracks emojis on the canvas, which emoji is currently selected, drag state and the offset for smooth dragging. Of course private methods as you are used to from me.
Adding emojis to the canvas
When you click an emoji button, it gets added to the center of the canvas:
addEmoji(event) {
  const center = this.#canvasCenter
  const emoji = {
    text: event.target.dataset.emoji,
    x: center.x - this.emojiSizeValue / 2,
    y: center.y - this.emojiSizeValue / 2,
    width: this.emojiSizeValue,
    height: this.emojiSizeValue,
    fontSize: this.emojiSizeValue,
    id: Date.now() + Math.random()
  }

  this.#emojisOnCanvas.push(emoji)

  this.#redrawCanvas()
}
Each emoji becomes an object with position, size and a unique ID. The emoji gets centered by subtracting half its size from the center coordinates. After adding it to the array, the canvas redraws to show the new emoji.
Make JavaScript your second favorite language
Drag and drop interaction
The drag system uses three mouse events: mousedown to select, mousemove to drag and mouseup to release:
selectEmoji(event) {
  const coordinates = this.#eventToCanvasCoordinates(event)
  this.#selectedEmoji = this.#emojiAtPosition(coordinates.x, coordinates.y)

  if (this.#selectedEmoji) {
    this.#isDragging = true
    this.#dragOffset = {
      x: coordinates.x - this.#selectedEmoji.x,
      y: coordinates.y - this.#selectedEmoji.y
    }

    this.canvasTarget.style.cursor = "grabbing"
  }
}

moveSelectedEmoji(event) {
  if (!this.#isDragging || !this.#selectedEmoji) return

  const coordinates = this.#eventToCanvasCoordinates(event)
  this.#selectedEmoji.x = coordinates.x - this.#dragOffset.x
  this.#selectedEmoji.y = coordinates.y - this.#dragOffset.y

  this.#redrawCanvas()
}

deselectEmoji() {
  this.#isDragging = false
  this.#selectedEmoji = null
  this.canvasTarget.style.cursor = "default"
}
The drag offset prevents emojis from jumping when you start dragging. Without it, the emoji would snap so its top-left corner sits under your mouse. With the offset, it maintains its relative position to your cursor. Smooth.
Helper methods for canvas operations
Several private methods handle the canvas coordinate system and rendering:
get #canvasContext() {
  return this.canvasTarget.getContext("2d")
}

get #canvasCenter() {
  return {
    x: this.canvasTarget.width / 2,
    y: this.canvasTarget.height / 2
  }
}

#eventToCanvasCoordinates(event) {
  const rect = this.canvasTarget.getBoundingClientRect()

  return {
    x: event.clientX - rect.left,
    y: event.clientY - rect.top
  }
}

#emojiAtPosition(x, y) {
  return [...this.#emojisOnCanvas].reverse().find(emoji =>
    x >= emoji.x && x <= emoji.x + emoji.width &&
    y >= emoji.y && y <= emoji.y + emoji.height
  )
}
The coordinate conversion is important because mouse events give you screen coordinates, but canvas needs relative coordinates. The getBoundingClientRect() method provides the canvas position on screen.
Finding emojis at a position uses reverse order so top emojis get selected first. The hit detection checks if the click falls within the emoji’s bounding box.
Drawing on the canvas
The redraw method clears the canvas and renders all emojis:
#redrawCanvas() {
  this.#canvasContext.clearRect(0, 0, this.canvasTarget.width, this.canvasTarget.height)

  this.#emojisOnCanvas.forEach(emoji => {
    this.#canvasContext.font = `${emoji.fontSize}px Arial`
    this.#canvasContext.fillText(emoji.text, emoji.x, emoji.y + emoji.fontSize * 0.8)
  })
}
Canvas text positioning is tricky. The y-coordinate represents the baseline, not the top of the text. Adding fontSize * 0.8 moves the text down so it appears where you expect it visually.
Canvas performance and browser support
Canvas has excellent browser support and performs well for this type of application. The clear-and-redraw approach might seem inefficient, but modern browsers optimize canvas operations heavily.
For emoji rendering, canvas handles Unicode characters beautifully. Emojis render as text, so they scale cleanly and look crisp at any size. The font size directly controls the emoji size.
One consideration: canvas is a raster format, so exported images have fixed resolution. For crisp results on high-DPI displays, you might want to scale up the canvas and export at higher resolution.
This was too much fun to build and even more fun to actually use. The combination of canvas drawing, drag-and-drop interaction and image export creates something genuinely fun to use. See images above. 😊
Try building your own custom emoji and see what combinations you come up with! The possibilities are endless when you have a canvas and some creativity.
Want to read me more?
-
Record video in Rails with Stimulus
Build a video recording feature using the MediaRecorder API. Learn how to capture webcam, screen and picture-in-picture recordings with clean Stimulus controller organization. -
Preview an Image Before Upload with Hotwire/Stimulus
Learn about JavaScript's FileReader interface to preview user images before they are upload with Hotwire/Stimulus. -
Drag & Drop Images with Preview using Stimulus Outlets
Explore an easy way to drag & drop images using Stimulus while using the Outlets API to preview the dropped image.
Over to you…
What did you like about this article? Learned something knew? Found something is missing or even broken? 🫣 Let me (and others) know!
Comments are powered by Chirp Form
{{comment}}