Creating a Simple Embeddable JavaScript Widget (for Your Rails App)
This article was taken from the book: JavaScript for Rails Developers. It is shortened and adapted for the web.
Browsing any modern SaaS site or app and you have very likely seen a widget in the bottom corner. Like a chat or a documentation look-up dialog.
In this article, I want to show you an example on how you can build such JavaScript widget that users can embed on their own site or app. It can be a great starting point for a new SaaS business (feel free to send stock options my way 🤑).
If you purchase the professional package of the JavaScript for Rails Developers book, check out the bundled resources. It includes the resource for a complete JavaScript widget, along with a Rails app. This widget communicates with the Rails back-end through WebSocket/Action Cable. The code in this article is the foundation for that resource.
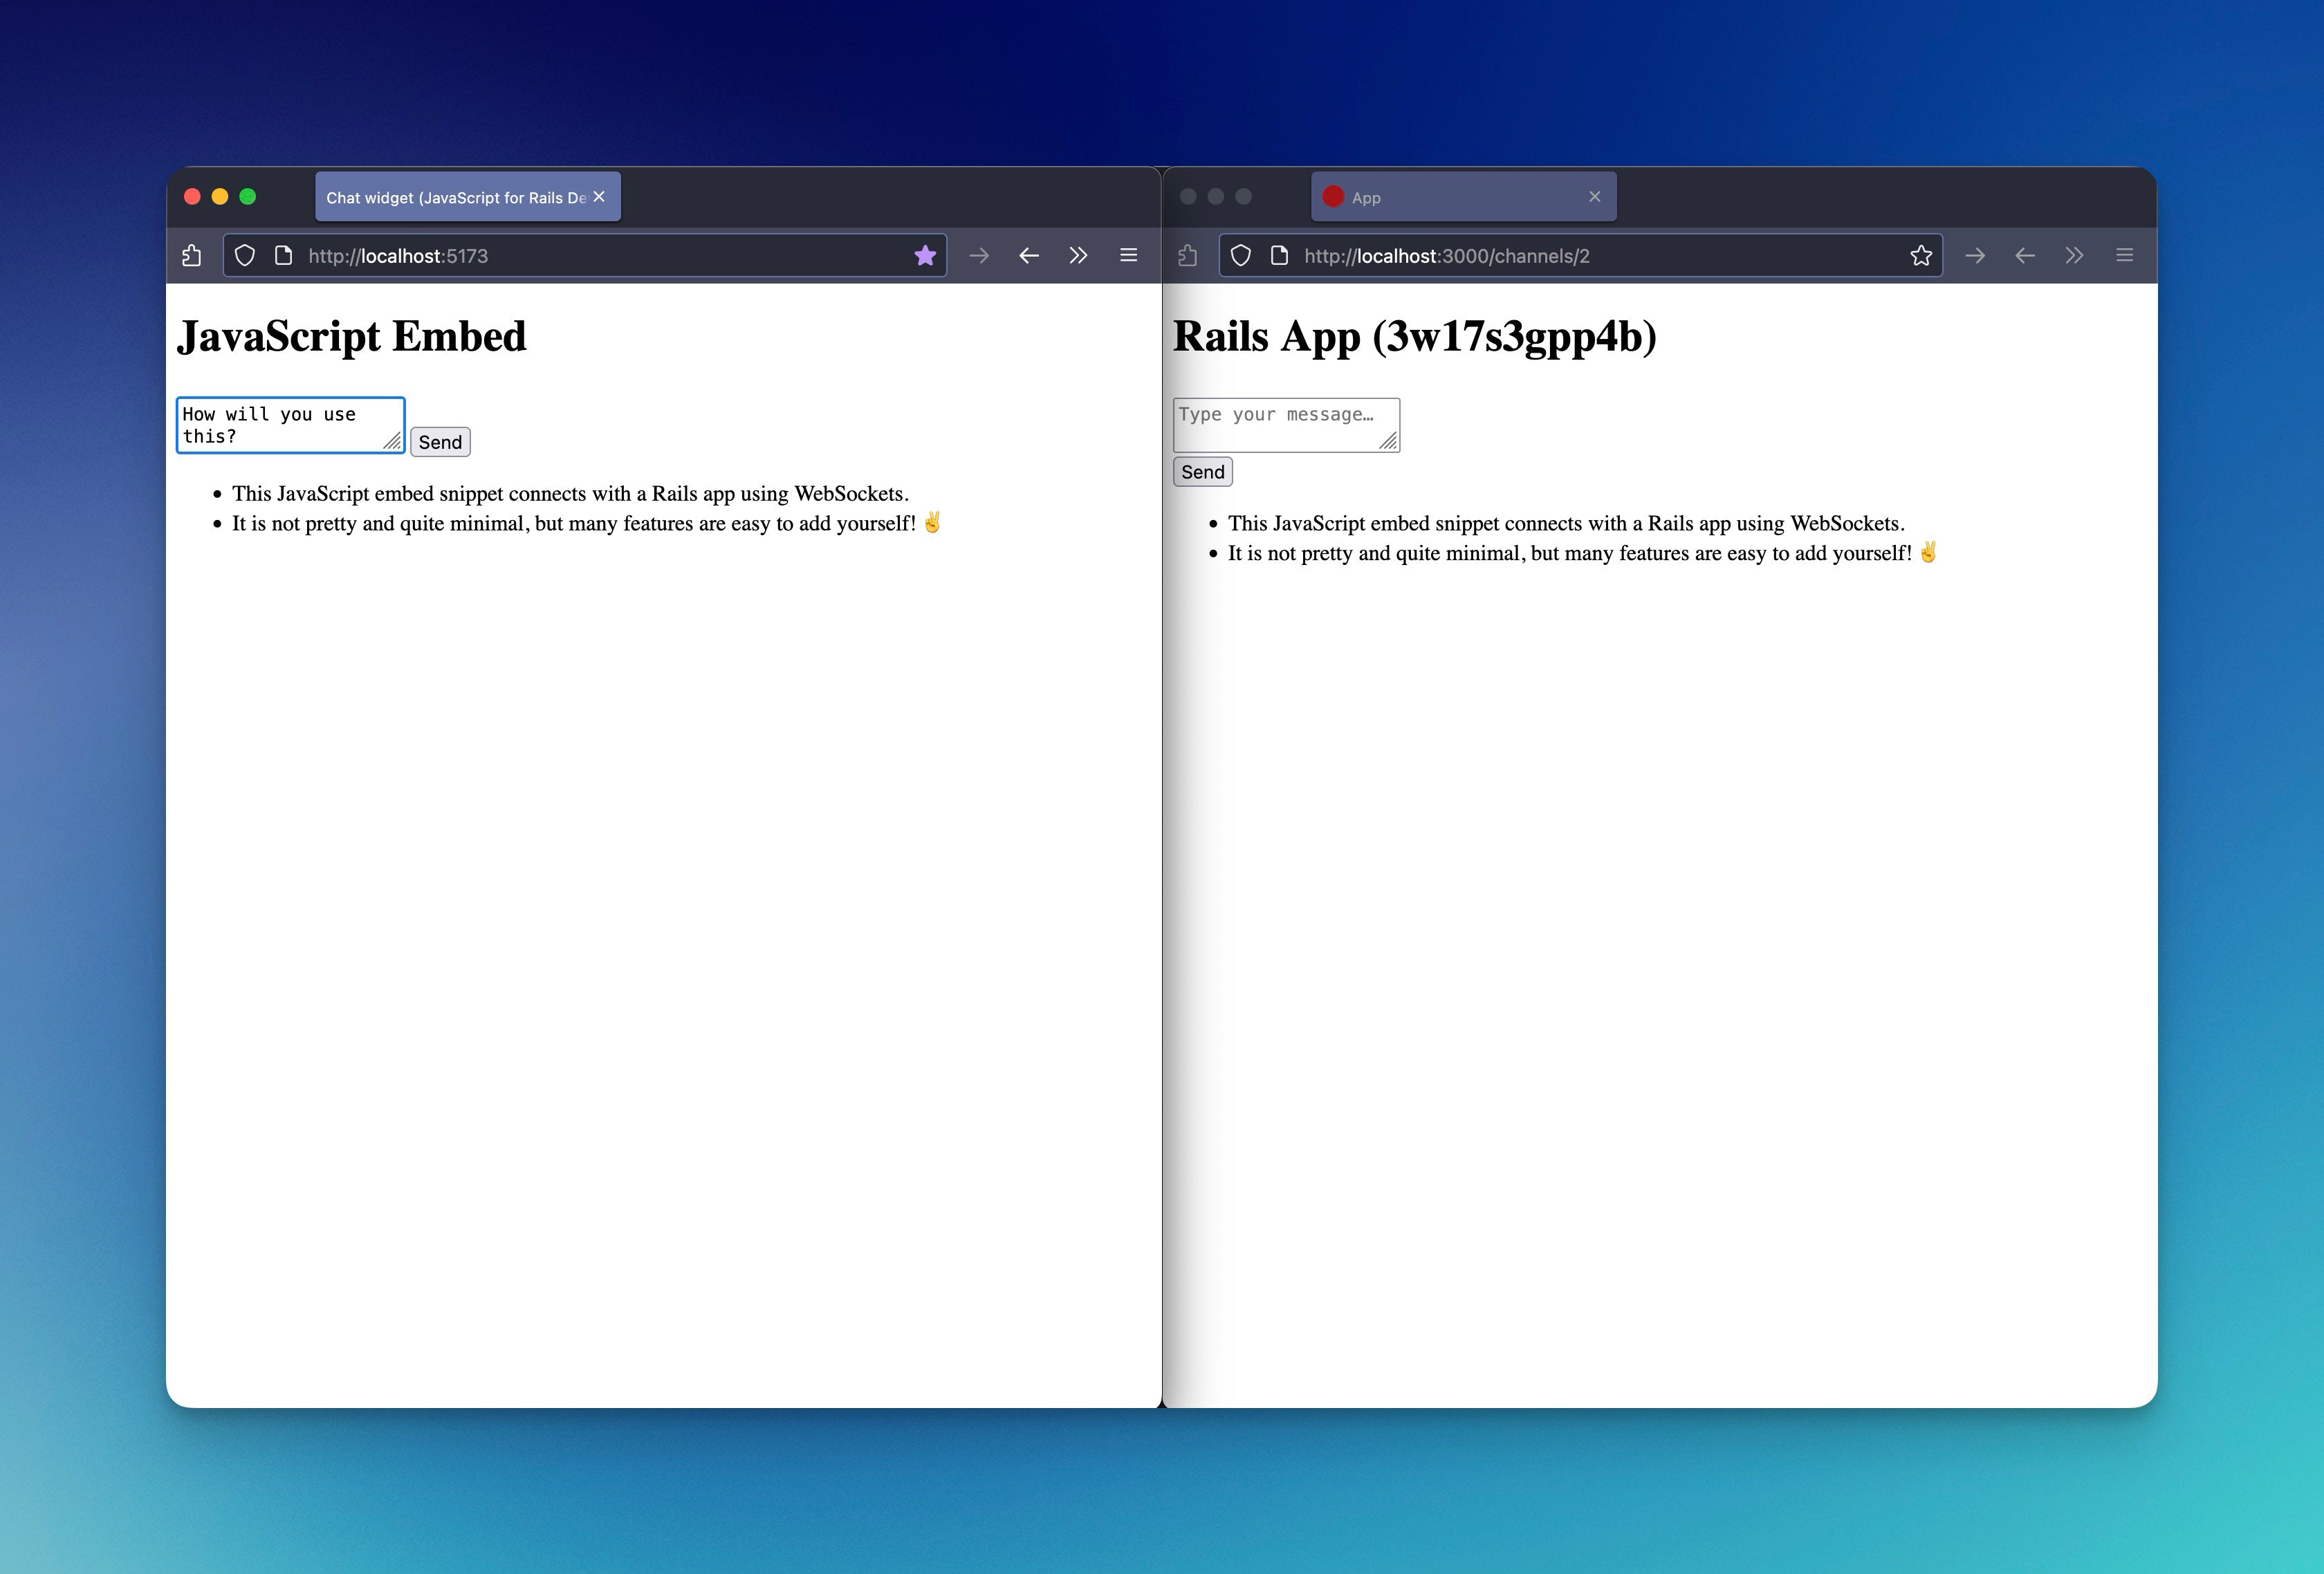
(This is the included resource of the Javascript for Rails Developers book. It shows the widget of the left and the Rails app that powers it on the right.)
The widget built in this article can also be found in this repo.
The Basics
For widgets like these, I like to use Vite—a modern JavaScript build tool and development server that provides a fast and nice developer experience (like Hot Module Reloading).
First, create a package.json file:
// package.json
{
  "name": "chat-widget",
  "private": true,
  "version": "0.0.1",
  "type": "module",

  "scripts": {
    "dev": "vite",
    "build": "vite build"
  },

  "devDependencies": {
    "rollup-plugin-terser": "^7.0.2",
    "vite": "^6.2.6"
  },

  "dependencies": {}
}
Simple! Now, the config for Vite:
// vite.config.js
import { resolve } from "path";
import { defineConfig } from "vite";
import { terser } from "rollup-plugin-terser";

export default defineConfig({
  build: {
    lib: {
      entry: resolve(__dirname, "src/widget.js"),
      fileName: "v1/embed",
      formats: ["es"]
    },

    rollupOptions: {
      plugins: [terser()],
      output: {
        compact: true
      }
    }
  }
})
Check out Vite’s documentation if you want to dig into what these options do. But in short, these two files give you:
-
npm/yarn dev— the default command for local development -
npm/yarn build— generates a production-ready JavaScript file you can serve via a CDN (e.g. https://cdn.example.com/v1/embed.js)
To make development even easier, let’s also create an index.html file:
<!doctype html>
<html lang="en">
<head>
  <meta charset="UTF-8" />
  <meta name="viewport" content="width=device-width, initial-scale=1.0" />

  <title>Basic widget</title>
</head>
<body>

  <h1>JavaScript Embed</h1>

  <div id="container"></div>

  <script>
    window.WIDGET_CONFIG = { selector: "#container" };
    (function(){var script=document.createElement("script");script.type="module";script.src="src/widget.js";document.head.appendChild(script);})();
  </script>
</body>
</html>
Now, if you run npm/yarn dev and open http://localhost:5173/, you’ll see an empty page with the
-text “JavaScript Embed”.
Widget functionality
Let’s build the actual widget:
// src/widget.js
class Widget {
  constructor(selector) {
    this.element = document.querySelector(selector)

    if (!this.element) {
      throw new Error(`[Widget] Element with selector "${selector}" not found`)
    }
  }
}

function initWidget(selector) {
  const widget = new Widget(selector)

  return widget.init()
}

window.initWidget = initWidget

if (window.WIDGET_CONFIG && window.WIDGET_CONFIG.selector) {
  initWidget(window.WIDGET_CONFIG.selector)
}

export { Widget }
Here’s what it does:
- It defines a function
initWidgetthat takes a selector string (e.g. #container). - It creates a new Widget instance using that selector and calls its
init()method. - It assigns
initWidgettowindow.initWidget, making it globally available. - If both
window.WIDGET_CONFIGandwindow.WIDGET_CONFIG.selectorare present,initWidgetis automatically invoked with the provided selector.
This sets up a foundation for a plug-and-play widget your users can easily embed.
Product-minded Rails notes
Monthly roundup on what I am building, open source work and recent articles like this one.
Injecting HTML
Let’s now extend the widget to render some actual HTML on the page:
+ import Container from "./widget/container.js"

class Widget {
  // …

+  init() {
+   const container = new Container()
+    this.element.innerHTML = container.render()
+
+    return this
+  }

  // …
}
As you can see, the Widget class acts more like a conductor than a soloist. It delegates tasks to other components, keeping the overall structure clean, modular and easy to maintain (as outlined in the JavaScript for Rails Developers book).
Let’s now create that Container class, which is responsible for returning the HTML that gets injected into the page—based on this line: this.element.innerHTML = container.render().
// src/widget/container.js
export default class Container {
  render() {
    return [this.#form, this.#messages].join("")
  }

  // private

  get #form() {
    return `
      <form method="POST">
        <textarea name="message" placeholder="Type your message…"></textarea>
        <button type="sumbit">Send</button>
      </form>
    `
  }

  get #messages() {
    return `
      <ul id="messages"></ul>
    `
  }
}
This should be self-explanatory: two private getter methods return chunks of HTML. The render method combines them using .join(""), which is a neat way to concatenate multiple strings.
Now, when you navigate to http://localhost:5173/, you should see a form with a textarea and a submit button. No need to refresh the page—Vite handles that for you with Hot Module Reloading.
For the last step in this article, let’s allow messages typed into the textarea to be appended to the message list. Lets create a new class to handle this logic and hook it up inside the src/widget.js file:
// src/widget.js
import Container from "./widget/container.js"
+ import Messages from "./widget/messages.js"

class Widget {
  constructor(selector) {
    this.element = document.querySelector(selector)

    if (!this.element) {
      throw new Error(`[Widget] Element with selector "${selector}" not found`)
    }
  }

  init() {
    const container = new Container()
    this.element.innerHTML = container.render()

+    new Messages(this.element).setupEvents()

    return this
  }
}

// …
From the code above you can already tell that we’ll need a setupEvents method in the new Messages class:
// src/widget/messages.js
export default class Messages {
  constructor(containerElement) {
    this.container = containerElement
  }

  setupEvents() {
    this.#form.addEventListener("submit", (event) => this.#create(event))
  }
}
This sets up a submit event listener on the form. Both #form and #create are private methods that we’ll define next:
export default class Messages {
  //…
  setupEvents() {}

+  // private
+
+  #create(event) {
+    event.preventDefault()
+
+    const textarea = this.#form.querySelector("textarea")
+    const text = textarea.value.trim()
+    const message = document.createElement("li")
+
+    message.textContent = text
+    textarea.value = ""
+
+    this.#messages.appendChild(message)
+    this.#messages.scrollTop = this.#messages.scrollHeight
+  }
+
+  get #messages() {
+    return this.container.querySelector("#messages")
+  }
+
+  get #form() {
+    return this.container.querySelector("form")
+  }
}
Now, whenever you type something and click Send, the message gets added to the list and the textarea clears itself. Cool, right?
These are just the very basics. Imagine extending the #create method to send the message using the Fetch API (I explore the Fetch API in this article) and storing it in your Rails app’s database. Or doing the reverse: pulling messages from the database to display in the widget.
As your widget’s features grow, keep the logic split into focused, small classes. It keeps the codebase easy to maintain. When your widget is production-ready, run yarn build to generate a bundled JavaScript file suitable for hosting on a CDN.
If you get the professional package of JavaScript for Rails Developers, be sure to check out the bundled resources. It includes a minimal but fully functional chat widget, complete with:
- persistent message storage in the database;
- message fetching;
- WebSocket integration for real-time updates without refresh;
- persistent channels via localStorage (great for continuing chat across tabs);
- Turbo Broadcast support to append messages from the Rails app.
Want to read me more?
-
Use CSS' `only-child` instead of `if/else` logic
CSS has many powerful features like `only-child`. Read how you can use this pseudo-class instead of custom-logic. -
Building optimistic UI in Rails (and learn custom elements)
Learn how custom elements work in Rails by building an optimistic form. From simple counters to instant UI updates, understand when to use custom elements over Stimulus controllers. -
Building optimistic UI in Rails powered by Turbo
Take the custom element optimistic form pattern and simplify it further. No wrapper elements, just pure event delegation and data attributes for instant UI updates.
Over to you…
What did you like about this article? Learned something knew? Found something is missing or even broken? 🫣 Let me (and others) know!
Comments are powered by Chirp Form
{{comment}}