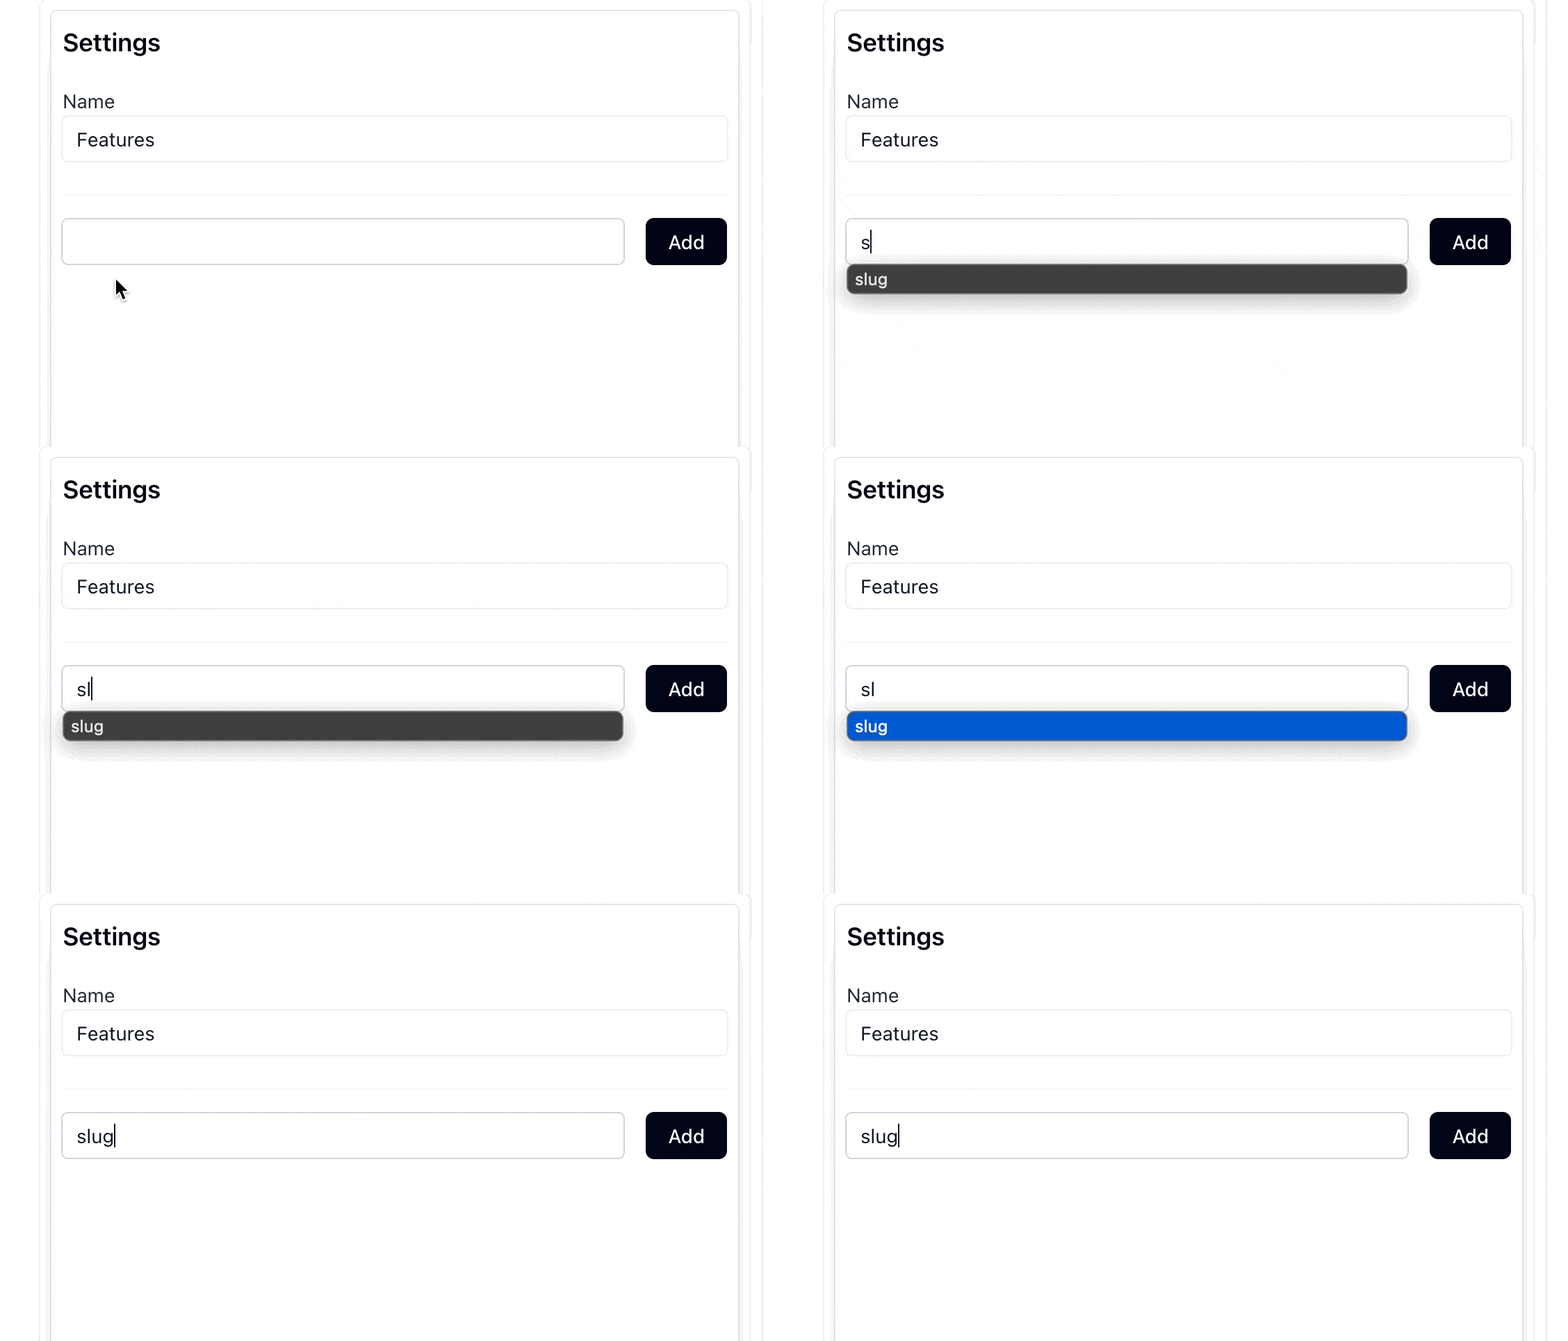
I recently had to add a basic autocomplete feature. A user can add settings with whatever key and with whatever value. But they could also create predefined settings which they could choose as well.

Above gif explains it well enough. They could enter any value in the field, but they choose the, predefined, slug key.
When you see this, you might opt for a JavaScript library, like the good-old selectize.js or the newer, and more light-weight, tom-select (and there are many more!). While those certainly have their use-case, in this case I think I can get away with something simpler (at least in the early stage as this product is at).
Enter: datalist. As you can see from the link, support is pretty good!
It also super simple to set up. Just some HTML. Let’s see how the example from above is done:
<form action="#" method="post">
  <input list="settings" type="text">

  <datalist id="settings">
    <option value="slug"></option>
    <option value="description"></option>
    <option value="author"></option>
  </datalist>
</form>
That’s it. On the input field you want to add “autocomplete” you add a list attribute that matches the id of the datalist element. Then in the datalist you add the options you want the autocomplete to show.
And boom, you are done! 🤯
Pros and cons
Now you know how to use datalist, it’s important to know the pros and cons, so you can determine if you can and want to use it.
Pros
- Minimal code
- Native browser integration and default keyboard navigation
- Built-in form validation and accessibility features
Cons
- Performance issues with large datasets (could be fixed with a basic JS async request)
- Inconsistent behavior across platforms
- No styling options
This is one of those HTML features that, when used correct, can help you ship faster. If you need more styling or need a large list of elements at some point, you can always choose a custom solution.

💬 Over to you…
What did you like about this article? Learned something knew? Found something is missing or even broken? 🫣 Let me (and others) know!
Comments are powered by Chirp Form
{{comment}}